How to Use Your TV as a Windows Laptop Screen Using an HDMI Cable
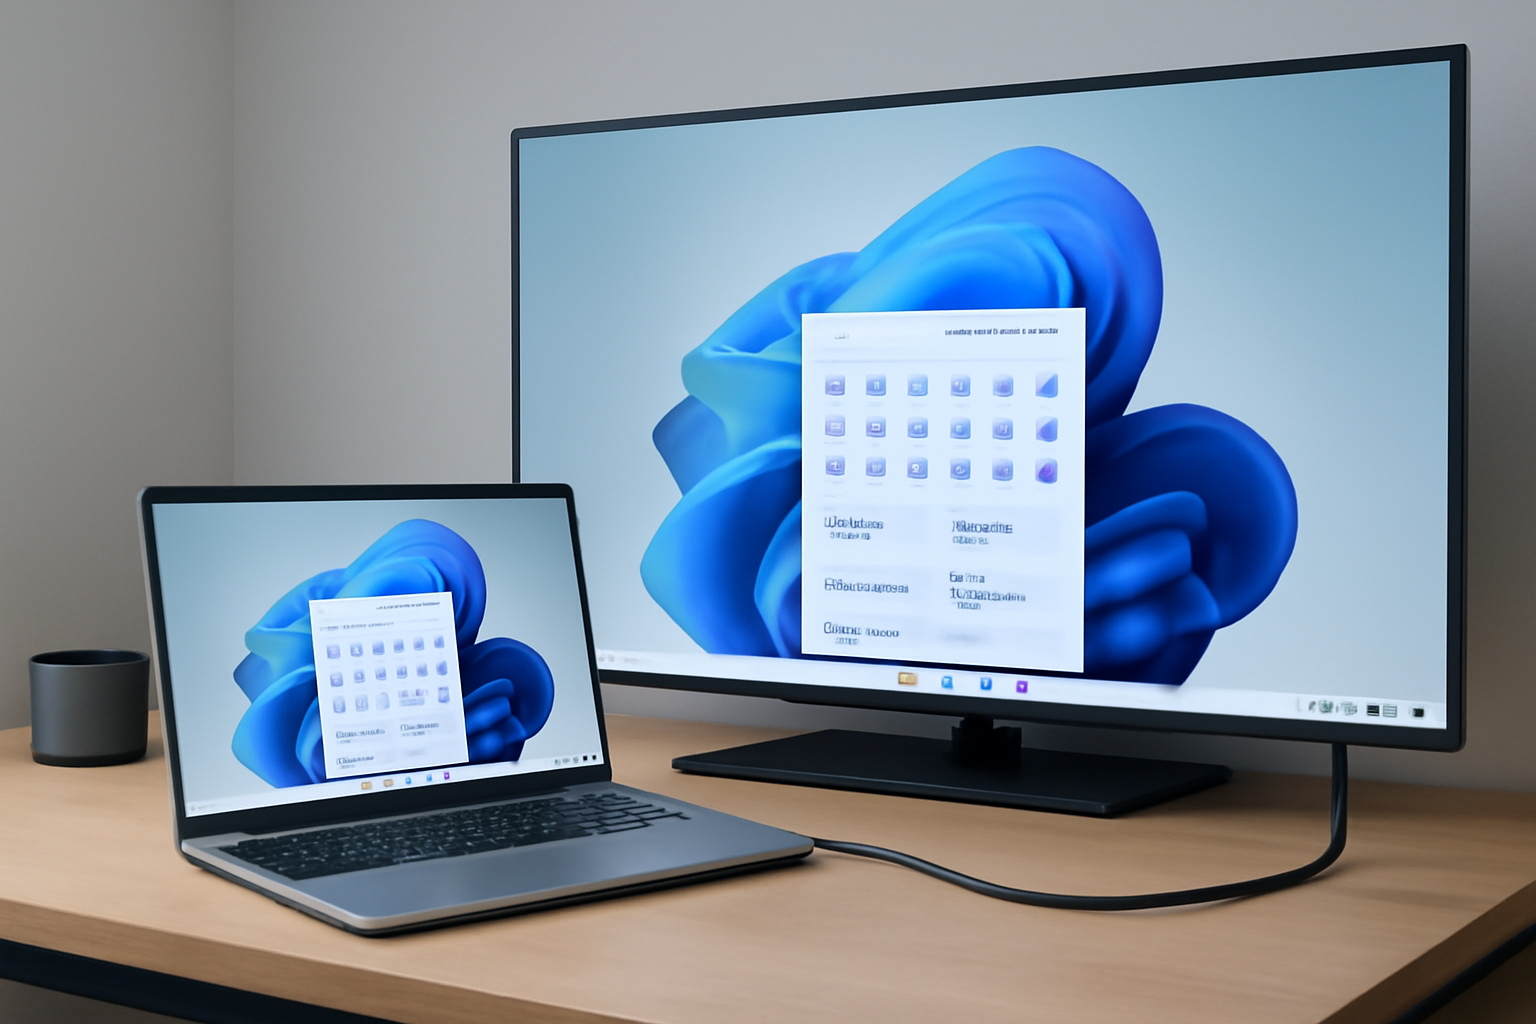
Want to enjoy a bigger display for your Windows laptop? Whether it’s for streaming movies, giving presentations, or just having more screen real estate while working, using your TV as a laptop screen is a simple and effective solution. In this guide, we’ll walk you through how to connect your Windows laptop to your TV using an HDMI cable, and get everything set up for the best viewing experience.
Why Use a TV as a Laptop Screen?
Many modern TVs support HDMI input, which makes them perfect candidates for external displays. Connecting your laptop to a TV gives you:
- A larger screen for better visibility and immersive viewing.
- Enhanced entertainment – watch movies, play games, or stream content on the big screen.
- Improved productivity – multitask with extended desktop setups.
Using an HDMI cable is one of the easiest and most reliable ways to achieve this connection, offering both video and audio transmission in a single cable.
What You’ll Need
- Windows laptop with an HDMI output port (or a compatible adapter if your laptop has USB-C or DisplayPort).
- HDMI cable (length depends on your setup, typically 6-10 feet).
- TV with HDMI input.
Step-by-Step Guide to Connect Your Laptop to Your TV
1. Locate the HDMI Ports
First, find the HDMI output port on your laptop. It looks like a small trapezoid-shaped port. On your TV, find the HDMI input port(s), usually labeled “HDMI 1,” “HDMI 2,” etc.
2. Connect the HDMI Cable
Plug one end of the HDMI cable into your laptop’s HDMI port, and the other end into one of the HDMI ports on your TV.
3. Switch Your TV Input
Using your TV remote, press the Input or Source button, then select the HDMI port number where you plugged in the cable. Your TV should now display your laptop’s screen.
4. Configure Display Settings on Windows
Once connected, you might want to customize how your laptop uses the TV screen:
- Right-click on your desktop and select Display settings.
- Under Rearrange your displays, you should see two screens labeled 1 and 2. Click Identify to see which is which.
- Scroll down to Multiple displays and select your preferred mode:
- Duplicate these displays: Shows the same content on both laptop and TV.
- Extend these displays: Makes your TV an extended desktop, allowing you to drag windows between screens.
- Show only on 1 or Show only on 2: Displays content only on one screen.
- Adjust the resolution if needed for optimal display quality.
Troubleshooting Tips
- No Signal on TV: Double-check that both ends of the HDMI cable are securely connected and that you’ve selected the correct HDMI input on your TV.
- Audio Not Working: Right-click the sound icon on your taskbar, select Open Sound settings, and under Output, choose your TV as the playback device.
- Display Not Detected: In Display settings, click Detect to manually search for the TV.
- Fuzzy or Wrong Resolution: Adjust the resolution in Display settings to match your TV’s native resolution for the best picture.
Bonus: Enable Game Mode on Windows 11 for Better Performance
If you’re using your TV for gaming with your Windows 11 laptop, you can enable Game Mode to optimize system performance. This feature prioritizes gaming processes and reduces background activities for smoother gameplay.
To enable or disable Game Mode in Windows 11, visit this comprehensive guide on how to enable or disable Game Mode.
Final Thoughts
Using your TV as a Windows laptop screen is a straightforward way to enhance your computing experience, whether it’s for work, entertainment, or gaming. With just an HDMI cable and a few simple settings tweaks, you can enjoy a much bigger and better display.
Remember to use good quality HDMI cables to avoid connectivity issues, and always update your laptop’s graphics drivers for the best compatibility.
Ready to get started? Grab your HDMI cable and enjoy the big screen!
Leave a Reply